Large, Static Website hosting with AWS and Let's Encrypt managed with Terraform
Updated Sunday, Sep 1, 2024
I had a need to host image galleries online. I researched the cost structures of a few providers, then settled on AWS S3 storage and AWS Cloudfront CDN. The twist is I have all the cloud configuration managed in Terraform, so it’s easy to recreate the same sort of setup for various projects.
§Hosting provider cost structure
After reviewing the bandwidth limits for a static website with a lot of large images, I came up with the following datapoints.
| Host | Disk Quota | Bandwidth Quota | Pricing structure for high traffic websites |
|---|---|---|---|
| GitHub Pages (1, 2) | 1 GB | 100 GB soft limit with no promise of increase | No |
| GitLab Pages (1, 2) | 5 GB | Unknown for GitLab Pages, so no promises by GitLab | No |
| Netlify (1) | No hard limit | Plans with 100 GB/month, 1 TB/month, 1.5 TB/month, or enterprise | Yes |
| Vultr VPS (Self managed) (1, 2) | Based on VPS Plan | Depends on Plan, costly overage rates upwards of 0.05/GB | Yes |
| AWS S3 + Cloudfront (1, 2, 3) | Unlimited, by usage | Unlimited, by usage | Yes |
Based on the above datapoints, it seems GitLab Pages and GitHub Pages are not designed for high traffic image heavy websites. Netlify could work, however the free tier bandwidth offers 100 GB/month, then costs can grow to hundreds of dollars depending on scale. Vultr pricing seems fairly competitive. Keep in mind you’ll be managing that website and the services hosting it. If your single VPS can’t handle the number of requests, you’ll have to scale it out manually, for example. A $10/mo VPS offers 2 TB of bandwidth, then .05/GB after. Not bad, and it could work if you have the time to manage it.
When using S3 and Cloudfront it appears one pays for S3 storage, then pays for Cloudfront requests. Cloudfront to S3 is free. If I have about 10 GB in S3, I expect to pay about 0.63 USD. If I exceed the Cloudfront limits, it’s 0.09/GB after the first TB out.
S3 and Cloudfront pricing seems like it could get out of control. There is no upper cutoff of when the provider will halt your services to stop you from incurring a large bill. I’ll be keeping a close eye on it.
Regardless, based on the offerings, I believe AWS is by far the cheapest offering. The other guarantee AWS offers is a cost structure. For various reasons, the other options I considered do not offer unambiguous cost structures at scale.
Besides… If I went with a VPS based solution, I wouldn’t have this Terraform experience to talk about. ;)
§Configuring the website with Terraform
With Terraform, I was able to do all the following:
- Create the static website’s S3 bucket, configure permissions for access from Cloudfront
- Create another S3 bucket to store Cloudfront access logs
- Generate a Let’s Encrypt SSL certificate for the domain for use with Cloudfront
- Import the Certificate into AWS
- Create the Cloudfront distribution with HTTPS support via the Let’s Encrypt certificate.
- Create the CNAME record on my domain name to give my website a nice URL
§Configuring secrets
Before continuing, check if you have the following environment variables set:
NAMECHEAP_USER_NAME(If using Namecheap DNS like I am)NAMECHEAP_API_USER(ditto)NAMECHEAP_API_KEY(ditto)AWS_ACCESS_KEY_ID(mandatory)AWS_SECRET_ACCESS_KEY(mandatory)
If you need to configure these, consider writing a dotenv file (12factor app environment variables) and using direnv to auto-load those settings when you change into that directory. This way you do not need to track these settings globally, and can reside with your project directory.

Figure 1: direnv in action
Set up your environment? Great! Let’s look at each section of the Terraform file.
§Declare your providers
Terraform needs to know about what providers load when doing work against your
.tf file:
terraform {
  required_providers {
    namecheap = {
      source = "namecheap/namecheap"
      version = ">= 2.0.0"
    }
    aws = {
      source  = "hashicorp/aws"
      version = "~> 4.0"
    }
    acme = {
      source  = "vancluever/acme"
      version = "~> 2.0"
    }
  }
}
§Configure the providers
Next you can configure some defaults for your providers, such as the Let’s Encrypt service URL, default AWS region.
provider "acme" {
  # server_url = "https://acme-staging-v02.api.letsencrypt.org/directory"
  server_url = "https://acme-v02.api.letsencrypt.org/directory"
}

provider "aws" {
  region = "us-east-1"
}
§Declare your S3 buckets
You’ll want two buckets. One to host the website and another to store logs.
# This policy is used ensure newly created s3 objects can be read from Cloudfront.
# Do NOT attach this policy to your log bucket.
data "aws_iam_policy_document" "allow_access_from_another_account" {
  statement {
    principals {
      type        = "AWS"
      identifiers = ["*"]  # Any user.
    }

    effect = "Allow"

    actions = [
      "s3:GetObject",
      "s3:ListBucket",
    ]

    resources = [
      aws_s3_bucket.website.arn,
      "${aws_s3_bucket.website.arn}/*",
    ]
  }
}

# Website bucket
resource "aws_s3_bucket" "website" {
  # Bucket name should be globally unique within the AWS region.
  bucket = "winny-demo-website"
  tags = {
    Name = "My Website"
  }
}

# Log bucket
resource "aws_s3_bucket" "web-access-logs" {
  # Bucket name should be globally unique within the AWS region.
  bucket = "winny-web-access-logs"
  tags = {
    Name = "Website access logs"
  }
}

# The following two aws_s3_* blocks are needed to ensure the s3 bucket is in
# "website-mode".  Remove either to get an error message such as:
#
# Error: Missing required argument with aws_cloudfront_distribution.website,
# The argument "origin.0.domain_name" is required, but no definition was found.
resource "aws_s3_bucket_acl" "website" {
  bucket = aws_s3_bucket.website.bucket
  acl = "public-read"
}

resource "aws_s3_bucket_website_configuration" "website" {
  bucket = aws_s3_bucket.website.bucket
  index_document {
    suffix = "index.html"
  }
}

# This attaches the above IAM policy so newly created s3 objects can be
# accessed from cloudfront.
resource "aws_s3_bucket_policy" "allow_access_from_another_account" {
  bucket = aws_s3_bucket.website.bucket
  policy = data.aws_iam_policy_document.allow_access_from_another_account.json
}
§Get a Let’s Encrypt certificate, send it to AWS
Next, we need a Let’s Encrypt certificate. We wish to use this with Cloudfront, so create a ACM entry with the certificate for use with Cloudfront.
resource "tls_private_key" "private_key" {
  algorithm = "RSA"
}

resource "acme_registration" "reg" {
  account_key_pem = "${tls_private_key.private_key.private_key_pem}"
  email_address   = "letsencrypt@winny.tech"
}

# This resource has all the properties you need when installing the
# certificate.  No need to reference anything from the above tls_private_key.
resource "acme_certificate" "certificate" {
  account_key_pem           = "${acme_registration.reg.account_key_pem}"
  common_name               = "example.winny.tech"

  dns_challenge {
    provider = "namecheap"
  }
}

resource "aws_acm_certificate" "cert" {
  private_key = acme_certificate.certificate.private_key_pem
  certificate_body = acme_certificate.certificate.certificate_pem
  certificate_chain = acme_certificate.certificate.issuer_pem
}
§Declare the Cloudfront distribution
# This ties everything together.  In case you do not have a custom domain, you
# may also access the website via the cloudfront URL (See the AWS dashboard).
resource "aws_cloudfront_distribution" "website" {
  enabled = true
  is_ipv6_enabled = true
  default_root_object = "index.html"

  aliases = [
    "example.winny.tech"
  ]

  # Where to get the stuff to serve - from our bucket!
  origin {
    domain_name = aws_s3_bucket.website.website_endpoint
    origin_id = "S3-${aws_s3_bucket.website.bucket}"
    custom_origin_config {
      http_port = "80"
      https_port = "443"
      origin_protocol_policy = "http-only"
      origin_ssl_protocols = ["TLSv1.1", "TLSv1.2"]
    }
  }

  default_cache_behavior {
    allowed_methods = ["GET", "HEAD", "OPTIONS"]
    cached_methods = ["GET", "HEAD"]
    # Ensure user is using HTTPS.
    viewer_protocol_policy = "redirect-to-https"
    target_origin_id = "S3-${aws_s3_bucket.website.bucket}"
    forwarded_values {
      query_string = false
      cookies {
        forward = "none"
      }
    }
  }

  restrictions {
    geo_restriction {
      restriction_type = "none"
    }
  }

  # Use the Let'sEncrypt certificate.
  viewer_certificate {
    acm_certificate_arn = aws_acm_certificate.cert.arn
    ssl_support_method = "sni-only"
  }

  # Log requests into a subdirectory named example.winny.tech/ in the logging
  # bucket.
  logging_config {
    bucket = aws_s3_bucket.web-access-logs.bucket_domain_name
    prefix = "example.winny.tech/"
  }
}
§Finally, access your website from a custom domain
Now let’s add the DNS record for the custom domain. Notice the address is
taken directly from the attributes of the aws_cloudfront_distribution.website
object. Pretty cool huh?
resource "namecheap_domain_records" "winny-tech" {
  domain = "winny.tech"
  mode = "MERGE"

  record {
    hostname = "example"
    type = "CNAME"
    address = aws_cloudfront_distribution.website.domain_name
  }
}
See the complete source listing here.
Run terraform init followed by terraform apply, carefully inspect the
output - understand what it is going to do, then type yes followed by return.
Viola! You now have cheap place to store a large static website (and will stay
cheap with traffic volume).
In this particular example, I now get a 404 from cloudfront when I visit https://example.winny.tech/ . HTTPS works!
§Deploying the website data
Within the same shell environment, you can install a website using aws s3 sync your-web-root/ s3://YOUR-WEBSITE-BUCKET/. If you use a CI/CD, this command
could be ran as part of your workflow.
In my case, I chose to deploy a Tetris like open source game called Hextris. You can also try this out by cloning and copying the files to your s3 bucket:
git clone https://github.com/Hextris/hextris
aws s3 sync hextris s3://winny-demo-website/
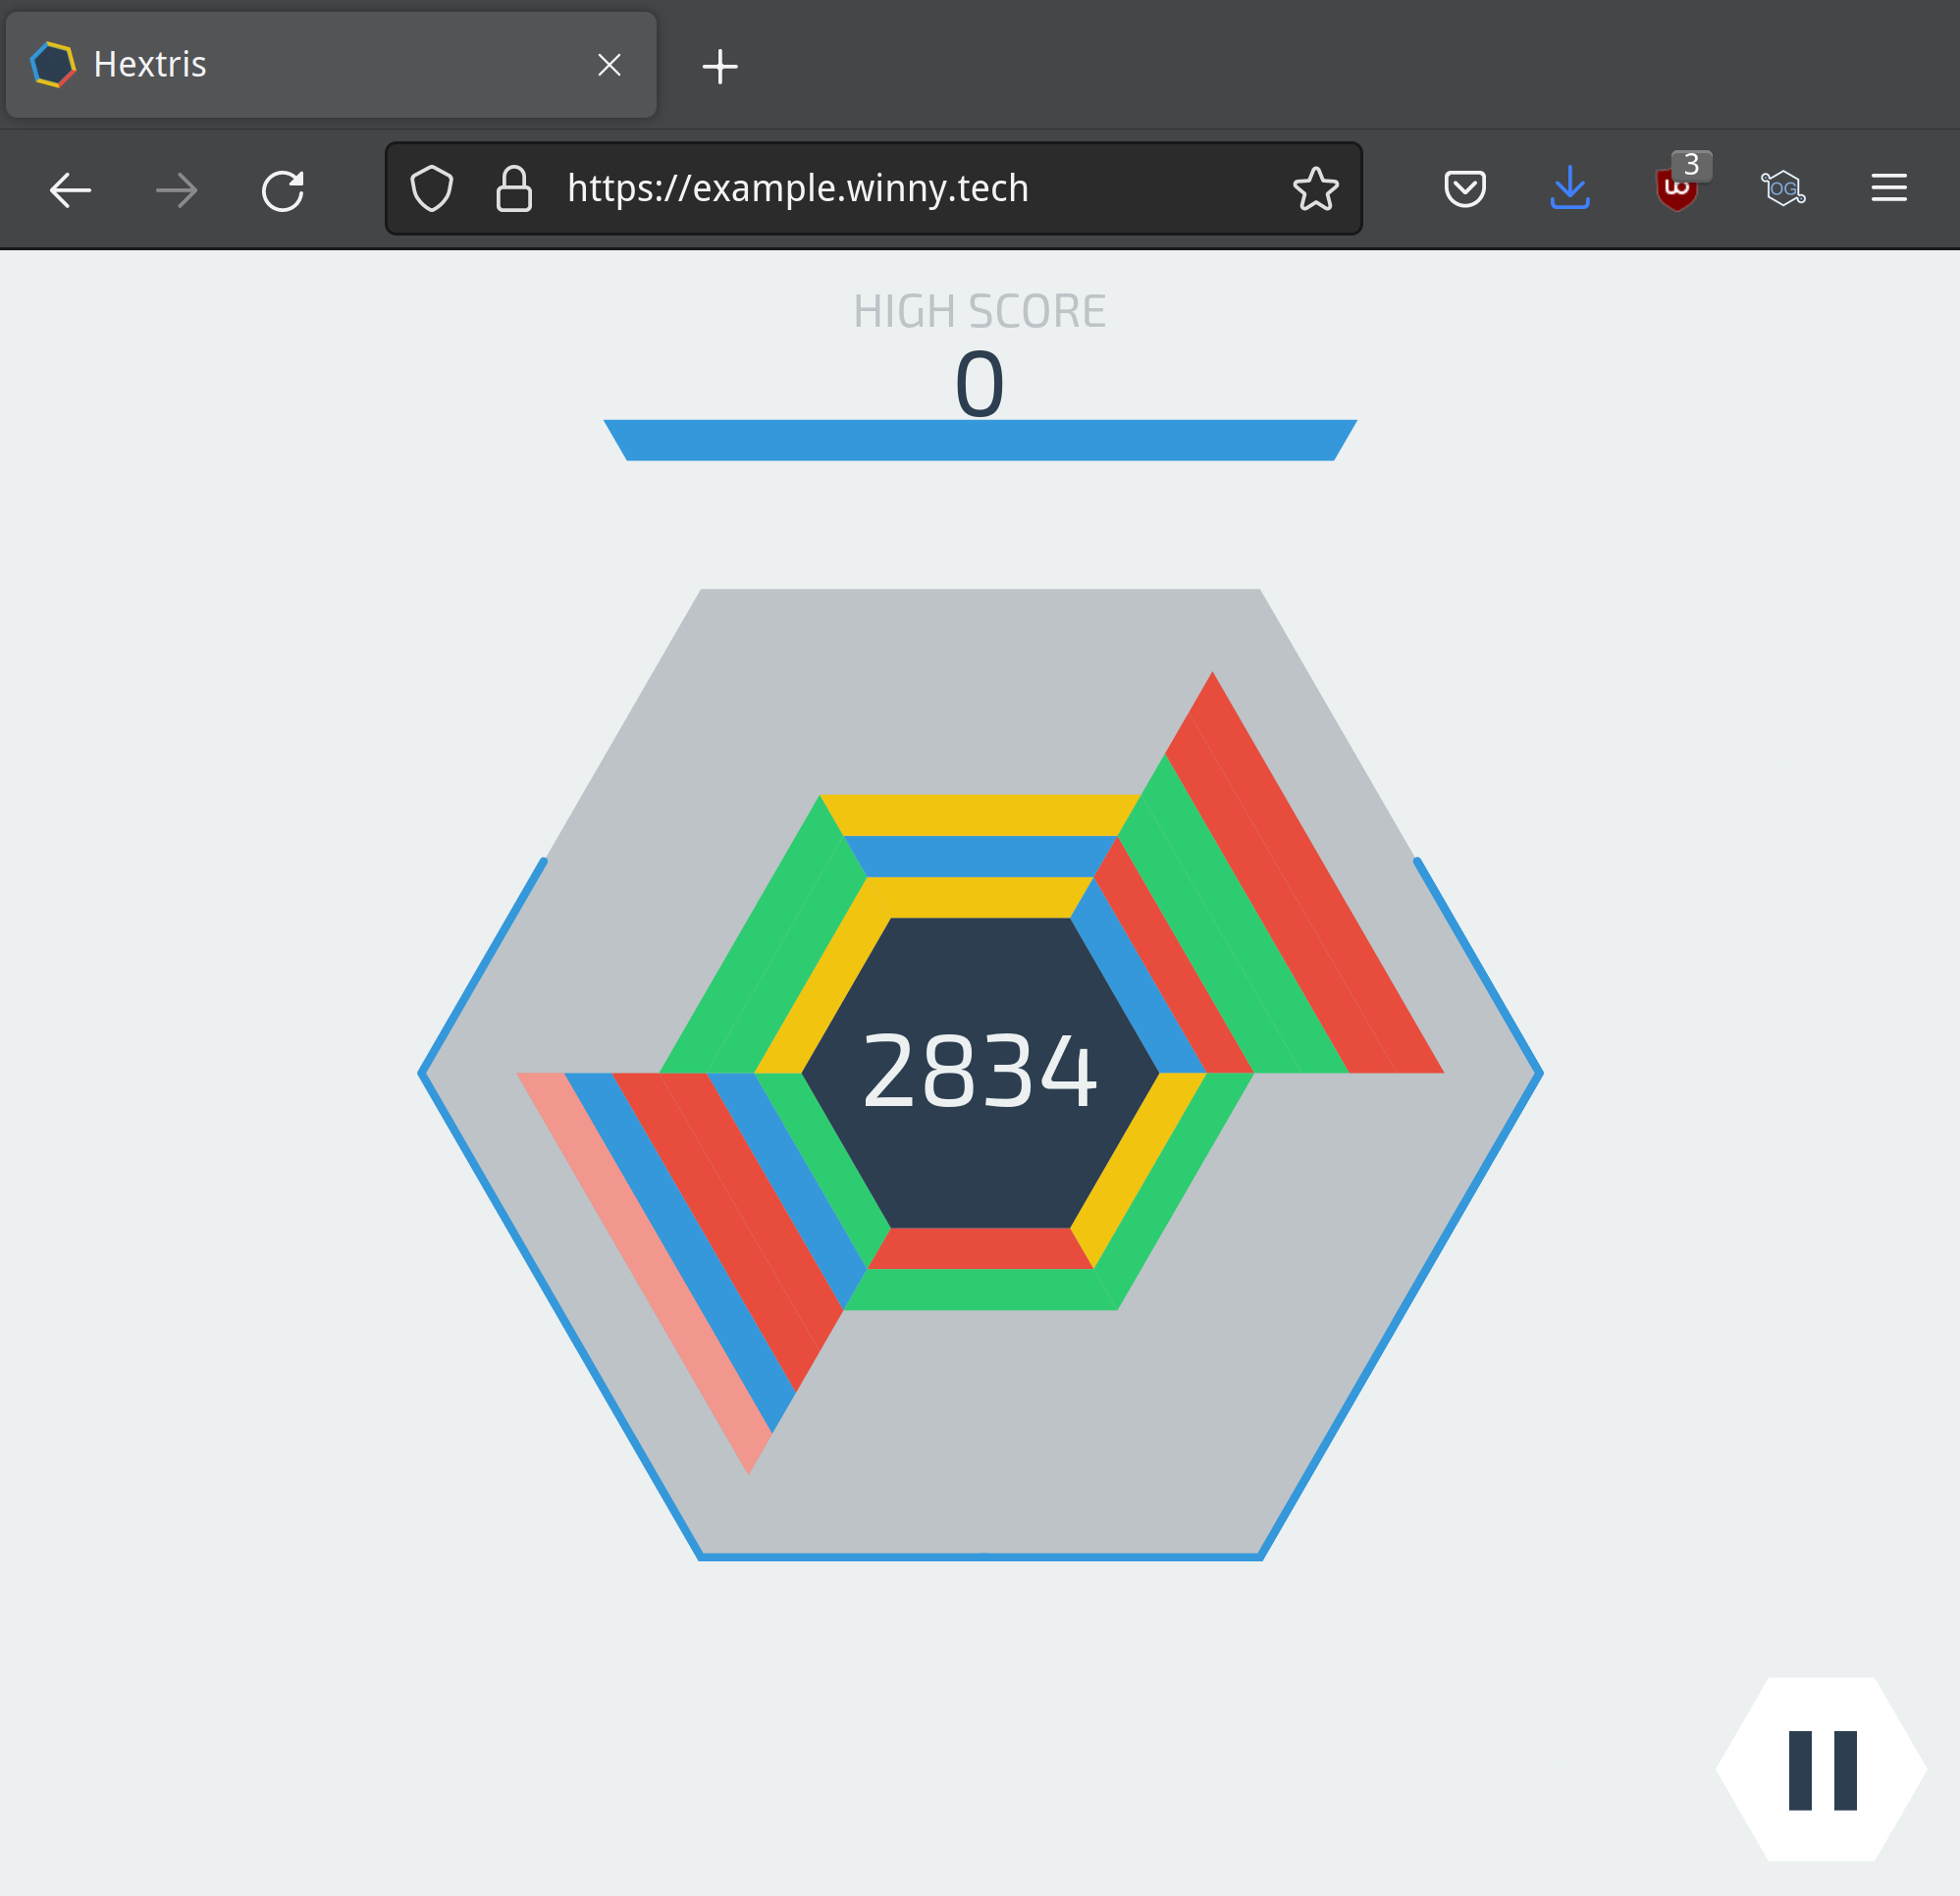
Figure 2: Hextris in browser
I’ll leave this sample site up for awhile. Access it at https://example.winny.tech/ .
§Let’s Encrypt Renewal
As far as I can tell, I can run: terraform apply -target=acme_certificate.certificate on a cadence. If the certificate needs
renewal, Terraform will do so.1
I will update this section with a little how-to on creating a service to renew the certificate and deploy it.
§Website Analytics
One can use JavaScript or pixel based analytics trackers like Google Analytics or New Relic as they normally would.
In the case you wish to avoid adding trackers to your website, one can access
logs from the second S3 bucket. Download them using aws s3 sync s3://YOUR-LOG-BUCKET/ your-logs/.
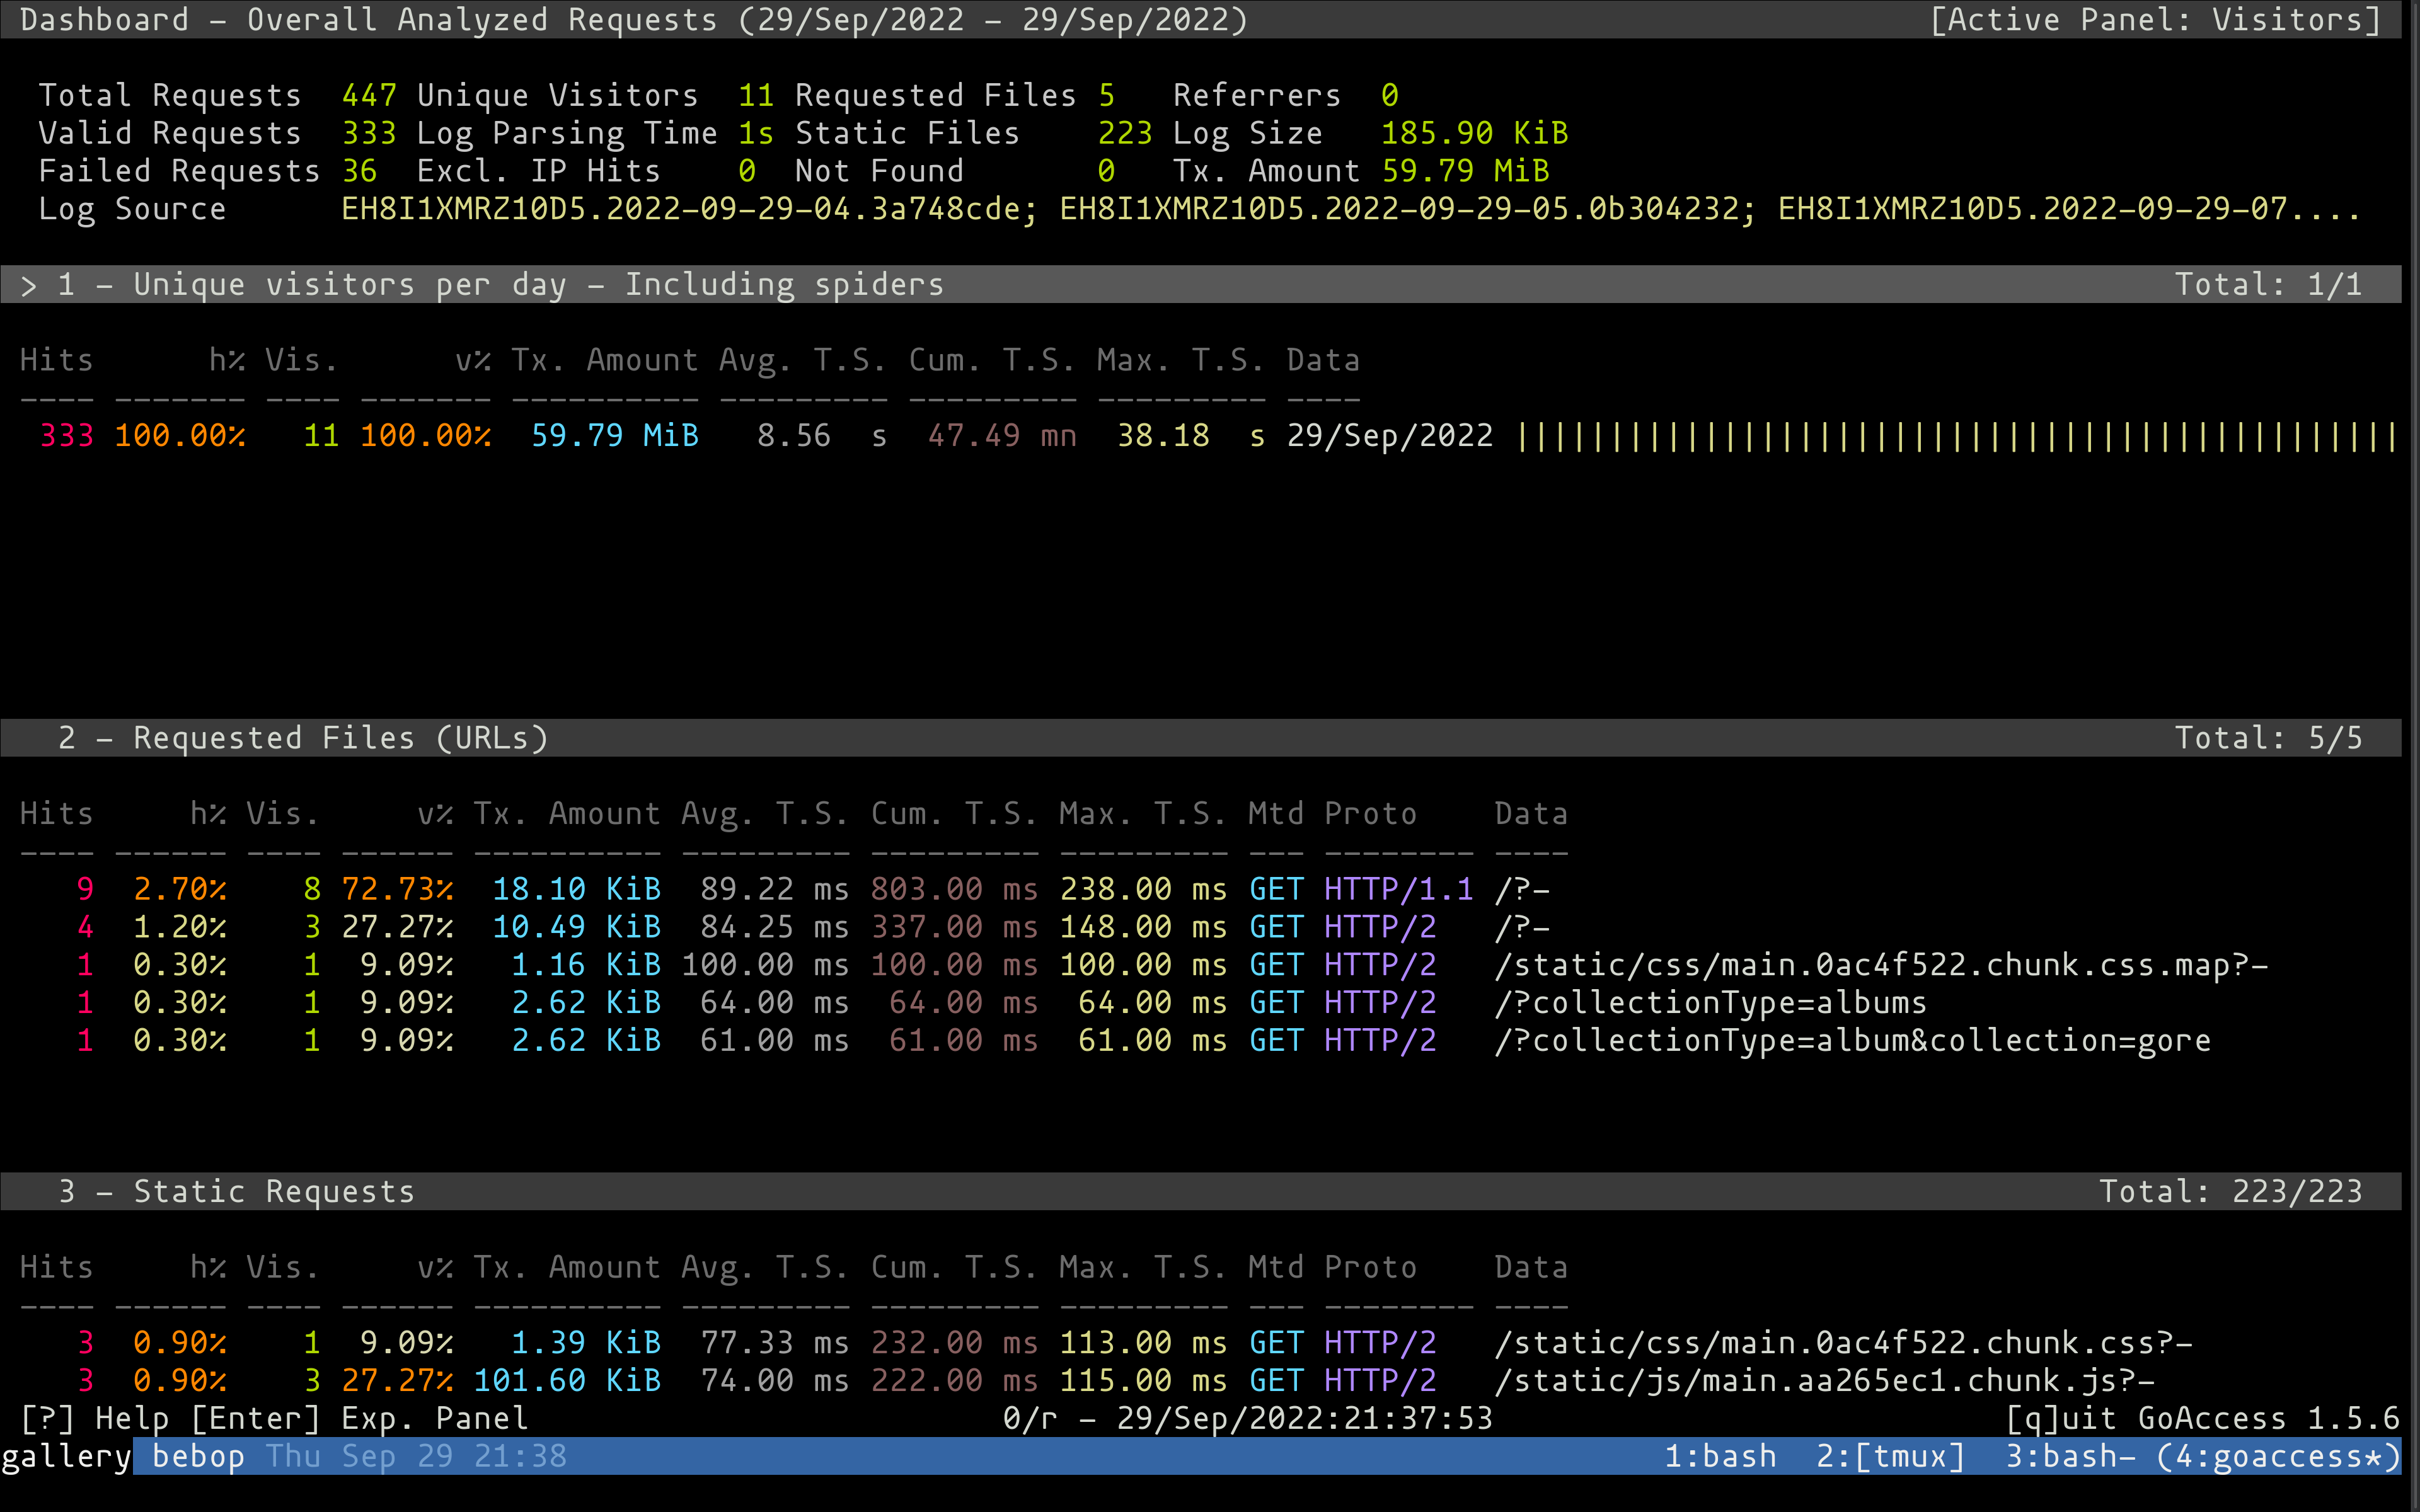
Figure 3: Goaccess analytics viewer
Using Goaccess we can view analytics from the command-line or browser. I
wasn’t able to parse the gzipped log files, so I gunzip ’ed them: gunzip *.gz. Then run goaccess * in the log directory. Select Cloudfront for the
time format (move cursor with arrow keys, space bar selects, return key
continues to next menu).
§A few troubleshooting steps
Be sure to read the Terraform documentation.
- Terraform Language documentation
- Terraform CLI documentation
- AWS Provider documentation
- Namecheap Provider documentation
- ACME (Let’s Encrypt) Provider documentation
Avoid Non-DNS Let’s Encrypt ACME challenge modes. Get an API key for you DNS
provider, set it in your environment, and use the DNS provider. It doesn’t
require setting up a webserver that is reachable by the hostname you want to
get a SSL certificate for. No, you literally can just run it without any
website. It couldn’t be easier. I think I may prefer DNS challenges in
future. It’s a lot less hassle, not to mention lego (the Golang library/cli
tool that powers Terraform’s Let’s Encrypt support) is easier to work with than
certbot.
If you used the Let’s Encrypt staging service, you may get an obscure error
message that Cloudfront rejected your certificate because it wasn’t issued by a
trusted issuer. It seemed the easiest way to remedy this problem was to first
destroy the certificate using terraform apply -target=acme_certificate.certificate -destroy , then fix the configuration to
use the production Let’s Encrypt service. If you do it in reverse you’ll get an
error when Terraform fails to revoke the certificate with the Let’s Encrypt
production service (because you’re trying to revoke a staging cert in
production).
§Further steps
It is a good idea to set up billing alerts with AWS. The costs shouldn’t spiral out of control, but you never know. Consumer protections against stuff like AWS does with billing is non-existent. You’d better protect yourself.
A simple aws s3 sync incantation will copy all files, including git files.
This means anyone can download the git history of your website, if you do not
block access. This is a nice to have improvement over the configuration used
in this post.
One may also parameterize this Terraform file using variables. This might be a good idea for re-usability.
§Conclusion
In this post I outlined the basics of setting up a website with AWS using Terraform. This was also my first serious foray into Terraform and I am impressed. I can see where I’d use this in future projects (all the time!).
Thanks for reading.
-
The docs suggest
-targetshould be used for the exceptional case. I am too new to Terraform to say for sure if this is an exceptional case. YMMV. ↩︎